Today's Mama Contest Entry/Father's Day Fishing Bouquet
I know that there are a lot of bouquets done out there using the cricut, however, they are usually girly, with flowers & sparkly bling and other girly embellishing. I decided to put a spin on a bouquet and make it "manly" for my dad for Father's Day.
To make this you will need: a Cricut Personal Electronic Die Cutter(with Cricut Solutions Camp Out Cartridge & any cartridge that cuts an oval, I used Plantin Schoolbook), a Cuttlebug Die Cut & Embossing Machine(w/ Houndstooth, Swiss Dots & Distressed Stripes Embossing Folders), Cardstock of your choice(I used DCWV for the top color & Wassau Paper for the shadow), Colorbox Cat's Eye Fluid Chalk Ink(I used Chesnut Roan), sticks(I used bamboo skewers from the kitchen department of Wal-Mart, $1 for 100), gift basket filler(craft department of Wal-Mart carries it for $1), floral foam, a hot glue gun, dimensional foam dots, an adhesive runner, pen, sharp scissors(I used the Cutterbee scissors), and a planter or other container of your choice. Let's get started!
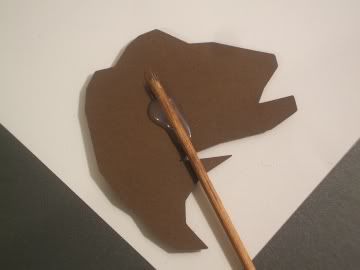
 With your Cricut & Camp Out Solution cartridge, cut out the bass at 3 1/2", 4", and 5". You will need 3-4 of each size, depending on how many pictures you have. I did 4 of each size.
Now using the black out feature, cut out a shadow piece for each one using the same sizes and quantities as above. I used a chocolate brown to coordinate with my ink.
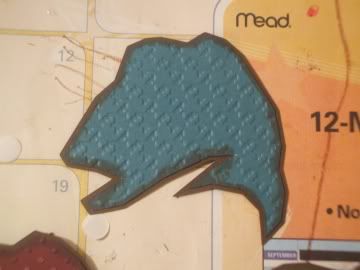
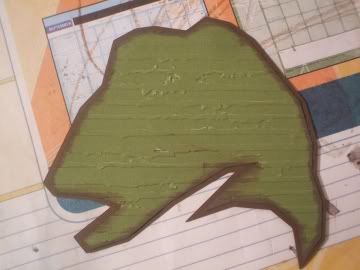
Once you get that completed, take each top layer and run it through your Cuttlebug using a different folder for each color and/or size. I used Houndstooth for all the 3 1/2", Swiss Dots for all the 4" and Distressed Stripes for all of the 5".
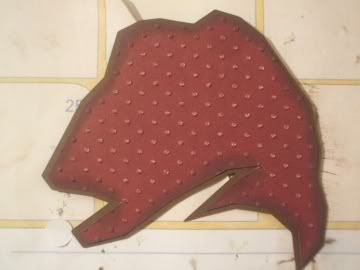
Next you need to take your chalk ink and ink the edges of each of the top fish layers.
Once this is completed, adhere the top layer to the shadow layer so it looks like the 3 pictures on the left.
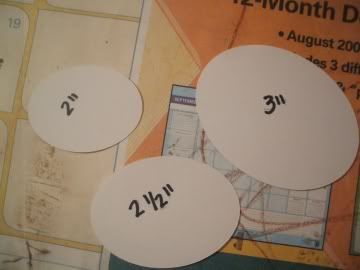
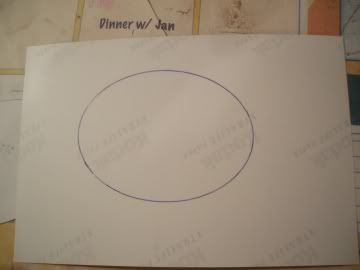
Now using the Cricut again & your cartridge that you're using to make the ovals, cut out 3 ovals, 1 each of 2", 2 1/2" and 3". I tried a few different combinations, but these are the ones that worked best with the sizes of fish above. You can use any paper you want for these as you are just using them for a template.
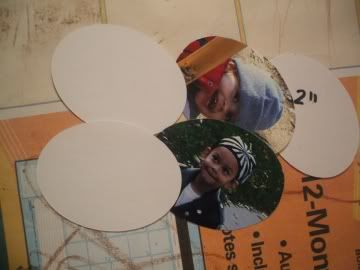
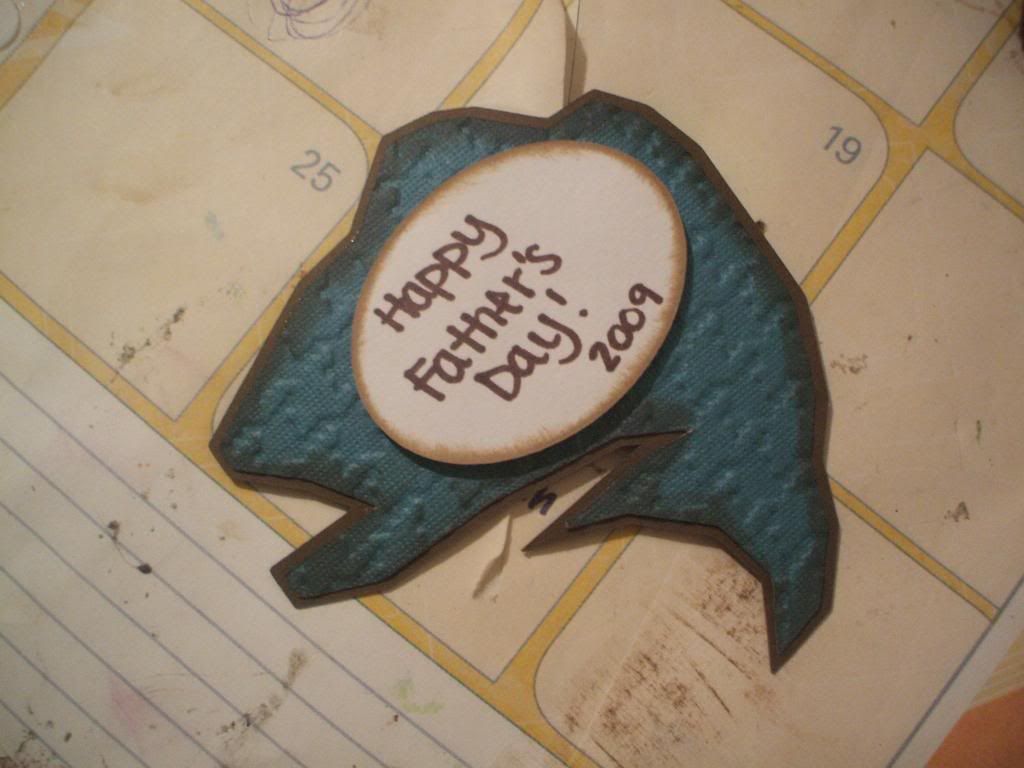
Using the ovals, trace the section of picture you want to be on the fish. Do this with all your fish. Also, if you want a message, do an oval on just white or cream cardstock so you can write on it(I've done this on 2 of my ovals below).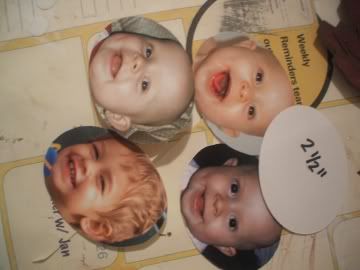
 Cut out all of the pictures, and group them together by size so you know which ones go on which size fish. You can see in my picture showing the 2" pictures that I have done 2 white ovals, this is because I'm writing a message to my dad on them. You can do this too if you wish.
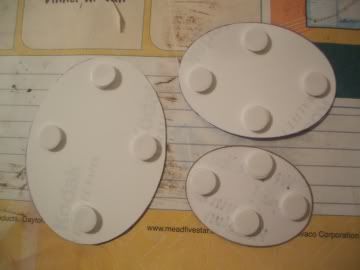 Using your dimensional adhesive(I used 3-D foam dots), attach a few to the back of each picture.
 Now attach the picture to the fish(pictures of all 3 sizes included).
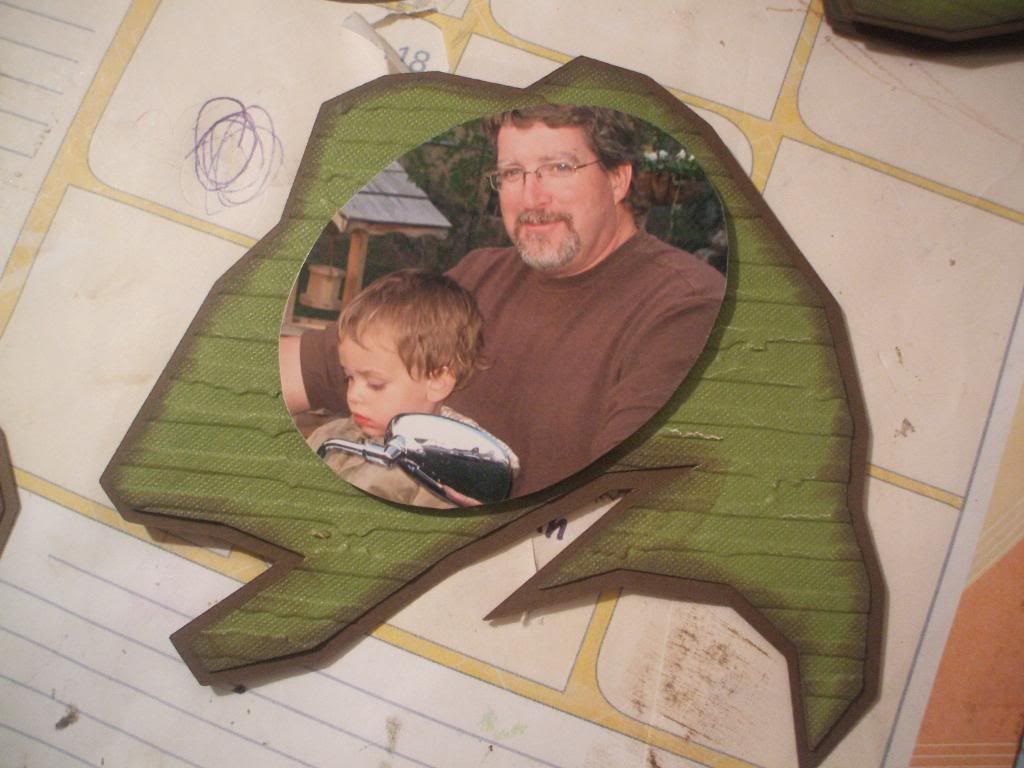
This is the 4" fish(the silly grinning little boy is my son Gavin).
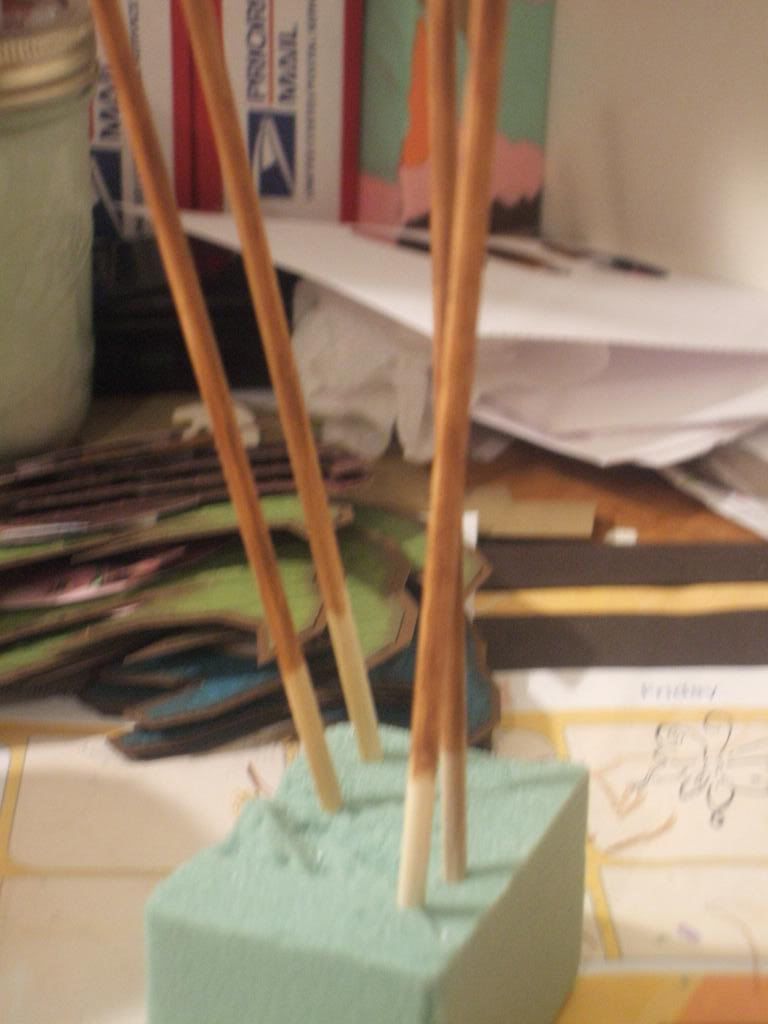 Now, when you buy bamboo skewers they are a light natural color, I chose to ink mine so they coordinated with the project. I used my chalk ink again and just ran the pad up & down each one a few times until it was all covered. I used a scrap piece of the floral foam to hold them up while they dried.
 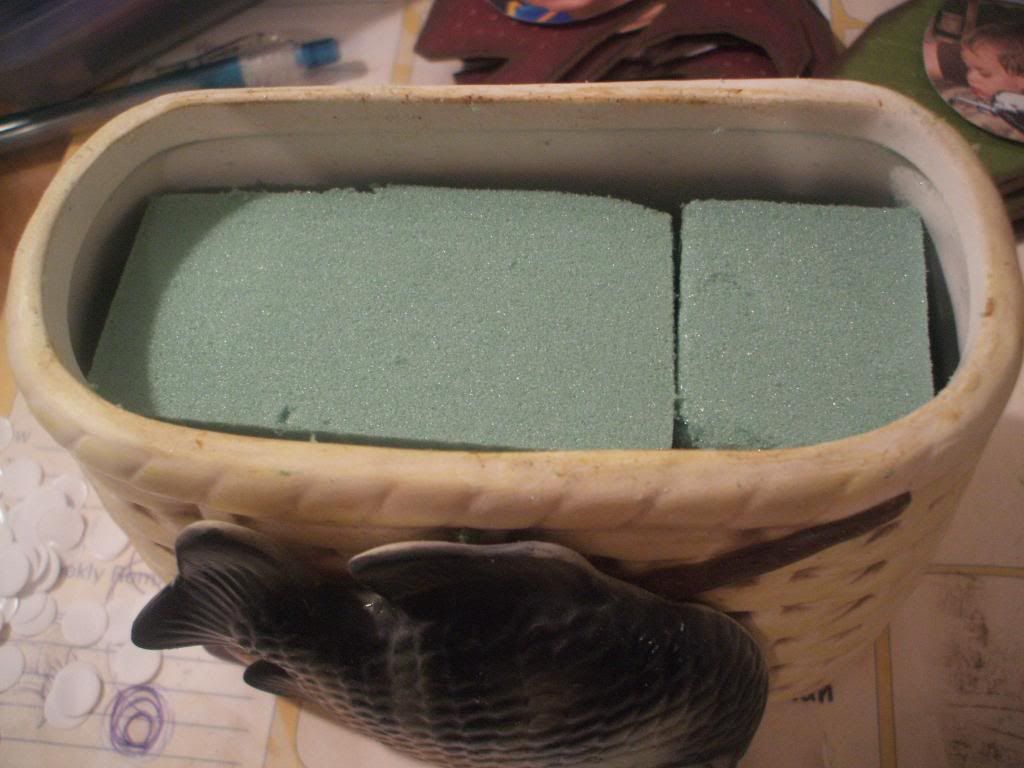 You need to cut your floral foam to fit your container, if you have to use multiple pieces, like I did, you can't tell in the pic, but I hot glued the 2 pieces together for extra stability.
Now you need to hot glue your fish to your skewer. I just ran a line down the back of the fish & pressed the skewer in and let cool. Do this with all of your fish.

Here's what one looks like right after I attached it.
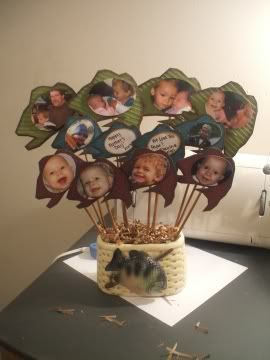
Now the last things you need to do is stick the fish into the foam however you would like them arranged, and then fill the container to the top with the gift basket filler.
To make this you will need: a Cricut Personal Electronic Die Cutter(with Cricut Solutions Camp Out Cartridge & any cartridge that cuts an oval, I used Plantin Schoolbook), a Cuttlebug Die Cut & Embossing Machine(w/ Houndstooth, Swiss Dots & Distressed Stripes Embossing Folders), Cardstock of your choice(I used DCWV for the top color & Wassau Paper for the shadow), Colorbox Cat's Eye Fluid Chalk Ink(I used Chesnut Roan), sticks(I used bamboo skewers from the kitchen department of Wal-Mart, $1 for 100), gift basket filler(craft department of Wal-Mart carries it for $1), floral foam, a hot glue gun, dimensional foam dots, an adhesive runner, pen, sharp scissors(I used the Cutterbee scissors), and a planter or other container of your choice. Let's get started!
With your Cricut & Camp Out Solution cartridge, cut out the bass at 3 1/2", 4", and 5". You will need 3-4 of each size, depending on how many pictures you have. I did 4 of each size. Now using the black out feature, cut out a shadow piece for each one using the same sizes and quantities as above. I used a chocolate brown to coordinate with my ink.
Once you get that completed, take each top layer and run it through your Cuttlebug using a different folder for each color and/or size. I used Houndstooth for all the 3 1/2", Swiss Dots for all the 4" and Distressed Stripes for all of the 5".
Next you need to take your chalk ink and ink the edges of each of the top fish layers.
Once this is completed, adhere the top layer to the shadow layer so it looks like the 3 pictures on the left.
Now using the Cricut again & your cartridge that you're using to make the ovals, cut out 3 ovals, 1 each of 2", 2 1/2" and 3". I tried a few different combinations, but these are the ones that worked best with the sizes of fish above. You can use any paper you want for these as you are just using them for a template.
Using the ovals, trace the section of picture you want to be on the fish. Do this with all your fish. Also, if you want a message, do an oval on just white or cream cardstock so you can write on it(I've done this on 2 of my ovals below).
*Tip* It's easier to figure out how exactly you want to trace your oval onto the picture if you hold it up to a good light so you can see exactly what you'd be cutting out. It's how I do all of mine.
Cut out all of the pictures, and group them together by size so you know which ones go on which size fish. You can see in my picture showing the 2" pictures that I have done 2 white ovals, this is because I'm writing a message to my dad on them. You can do this too if you wish. Using your dimensional adhesive(I used 3-D foam dots), attach a few to the back of each picture. Now attach the picture to the fish(pictures of all 3 sizes included).This is the 3 1/2". Notice I inked the edges of the ovals so they weren't so plain. I also wrote the message before attaching it to the fish, it's much easier that way...
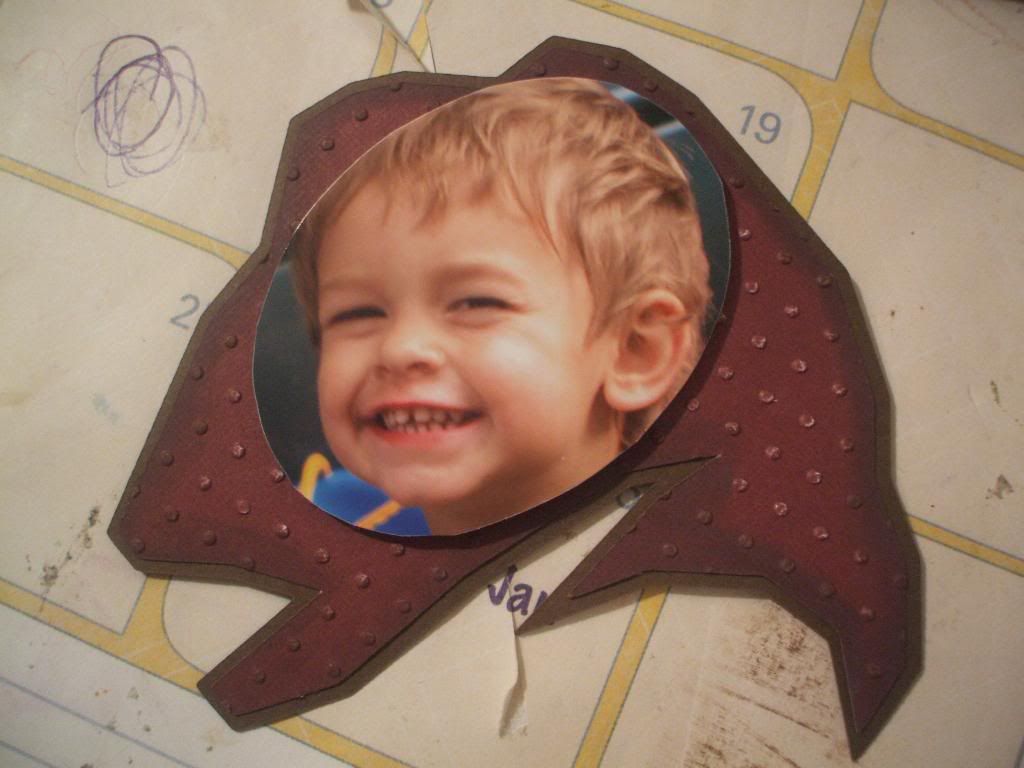
This is the 5" fish.
This is the 4" fish(the silly grinning little boy is my son Gavin).
Now, when you buy bamboo skewers they are a light natural color, I chose to ink mine so they coordinated with the project. I used my chalk ink again and just ran the pad up & down each one a few times until it was all covered. I used a scrap piece of the floral foam to hold them up while they dried. *You can cut your skewers to different heights so they are staggered. I did, but I just kinda randomly broke the skewers as to what looked good in the container, so use your judgement.
You need to cut your floral foam to fit your container, if you have to use multiple pieces, like I did, you can't tell in the pic, but I hot glued the 2 pieces together for extra stability.Now you need to hot glue your fish to your skewer. I just ran a line down the back of the fish & pressed the skewer in and let cool. Do this with all of your fish.
Here's what one looks like right after I attached it.
Now the last things you need to do is stick the fish into the foam however you would like them arranged, and then fill the container to the top with the gift basket filler.
My finished project is to the left. I hope you like it. If you need any help, please just contact me and I'd be happy to help!
This is a contest entry for www.todaysmama.com using products from www.cricut.com.


I love this idea I might borrow it for one of my kids birthdays or maybe for a family member's milestone birthday. Oh or it would be great to have a christmas or easter boquet of pic's of that holiday through the year. Thanks for the idea!
ReplyDelete